Showing posts with label Ruined Barn. Show all posts

Sunday, May 15, 2016

Ruined barn identified


Tumbledown Barn

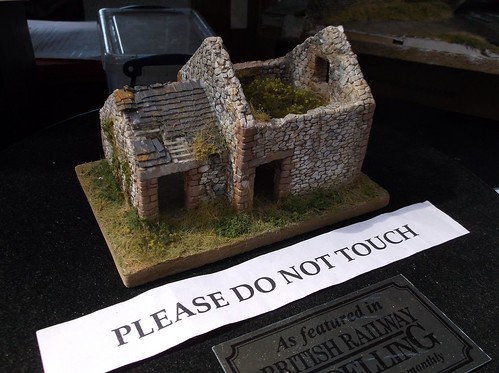
When I started work on the Skytrex ruined barn casting, someone suggested it had been mastered by David Wright of Dovedale models. Having chatted with him at Derby, I can confirm this is the case.

Inspired by this model:
Tumbledown barn

a request was made for a version suitable for casting in resin. The master was madein foamboard and DAS. A mould was taken from this and then lots of resin versions produced. 

A tenner for such artistry sounds like a good deal to me.

Tuesday, April 26, 2016

Lichen and moss

Tumbledown Barn

Some time ago, Airbrushes.com sent me a Lifecolor Lichens and Moss pack. At the time I had a quick look, tried it out on the canalside on Ruston Quays and then put it away as a useful product for the right project.

RQ hadn't provided much of a test and I thought the barn would do, so with the walls painted, it would out with the green stuff.

Mossing

In the pack are 6 bottles. 4 contain medium coarse flock powders, the other two are fixatives.These are both gloss - "lime" or "muddy" - and wash out of brushes with water. 

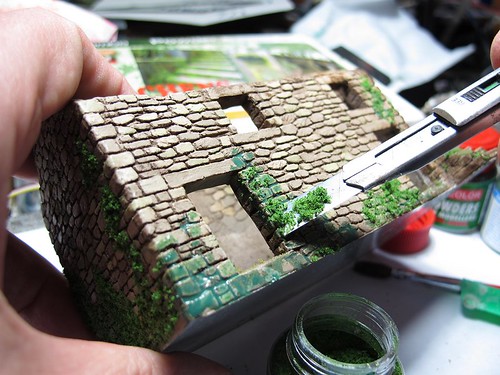
Work started by dabbing "muddy" fixer on the stone. It looks horrible but should then be covered with some flock. I used "Lush Plant" picked up with a knife and piled on the fixer. Ideally I'd have used a plastic spoon from an ice cream tub but can't find the one I kept. Must do something about that...

Anyway, once piled, the flock was rubbed off again to leave a thin coating. It seems to soak up the fixative and grab the wall almost instantly so fast work is possible. Working over paper allows excess flock to be returned to the bottle. 

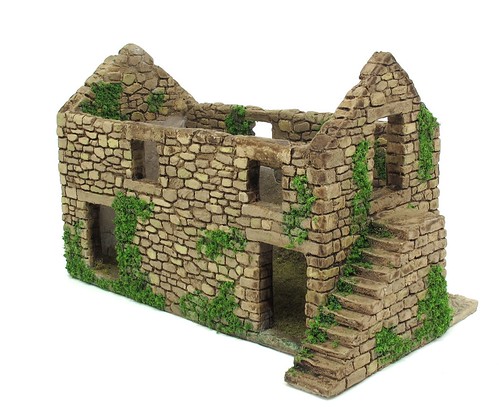
I experimented with a darker flock (Rotten plant) but the colour variation jarred so I stuck to a single one. This might be the limitation of the system in that you can't blend colours (colors?) very easily. That said, the shades supplied work well and I'm very pleased with the results. The gloss fixative can still be seen but seems almost transparent so isn't a problem. A spray of matt varnish would cure it, at the same time you could add slight colour variation if using an airbrush. 

This has been a fun little project and I'm pleased with the result. OK, most of the work is in the excellent Skytrex casting, but that just means that anyone could have a building full of character on their layout. This, and comments made on these pages, have given me some idea for future projects, so watch this space.

Tuesday, April 19, 2016

Mortar lines and judgement


Stone Painting 2

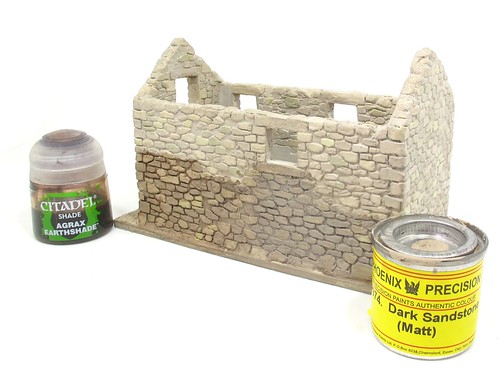
The painted stones having enjoyed a nights drying time, I gave them a wash with Games Workshop Agrax Earthshade to bring out the mortar lines. Simply washing the stuff over everything and then wiping the worst off the stone faces worked pretty well. 

Left to dry, the effect becomes more subtle, but I still felt it was a little strong. A dry-brush with Sandstone out to tone it down I decided and carried this out on a corner of the wall for the photo. 

Now I think it's gone too far and prefer the earlier version. Hopefully a second wash will sort this, then I'll do the rest of the building. 

Practise on a hidden area is good advice!

Monday, April 18, 2016

Drinking tea and painting stones

Stone Painting 1

The centre of the social area in our club is home to 4 table. On a Thursday evening, you'll normally find an N gauger or two working away on a Scalescenes kit along with half a dozen others reading magazines, drinking tea and gasbagging. 

Picking out stones on a model building isn't the most exciting activity, so doing the job while drinking tea and chatting seemed like a good idea. 

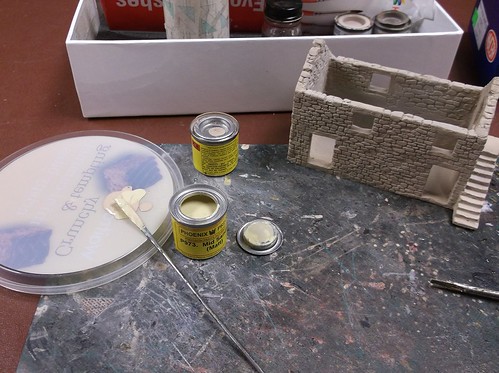
My palette came from the bin. On it I mixed the base colour (Precision Dark Sandstone) with blobs of lighter browns and greys. after 4 or 5 different colours, I dusted the model with talc to both unify the colours and make sure it was dry enough to go back in my bag for the journey home!

Friday, April 15, 2016

Tumbledown barn


While I ponder the joys of soldering GWR railcar bits together, I need a simple project to play around with. Sometimes at the end of the day, I just don't fancy wielding a hot iron and trying to figure out  how to bring the various bits together. Modelling should be relaxing after all.

A project I've had knocking around for some time is a tumbledown barn from Skytrex models. Ever since I saw this casting, I've wanted to slap a coat of paint on it. More recenty, I've been sent some moss kits that I'd like to try properly on it.

Anyway, it's a single piece, so the first job is to open out the resin film left in the windows. 


A sharp knife works better than a file with the added benfit of not releasing the dust that is do bad to breath in. After this, a scrub in the sink and it's off to paint...