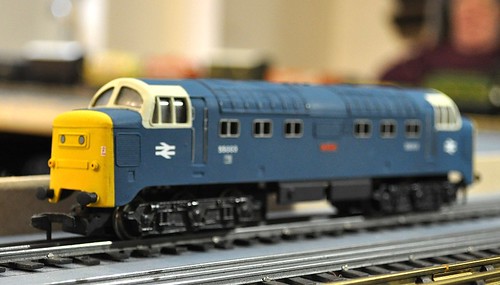
The first day of a new year means it's time for my review of 2014's activity on the blog. A quick check back to last years effort shows that my 3mm scale Class 25 has clocked up 3 years in the "to do" pile. Maybe this year will see it completed, in time for the 3mm Society 50th Anniversary celebrations...
OK, first off, let's feed the statistics fans:
- Another "post a day" year, 365 in all. A few times keeping this going has been quite a challenge but I'm bloody-minded enough to try.
- 620 visitors a day on average with one day seeing over 1000 for the first time. This has shot up in the last 3 months so we'll see if it holds up.
- 886 pages per day viewed.
- 145 returning visits a day.
- Now well over 3000 posts in total.
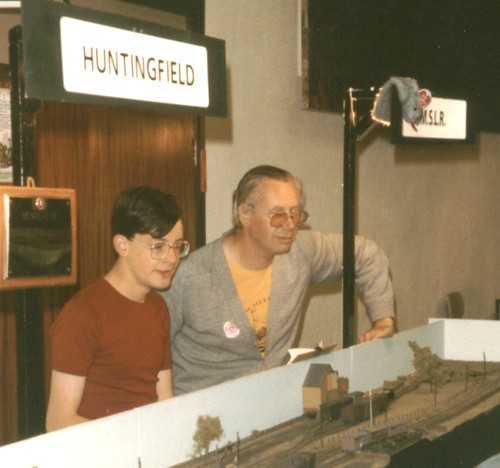
During the year I've been out and about a bit. There's been a trip
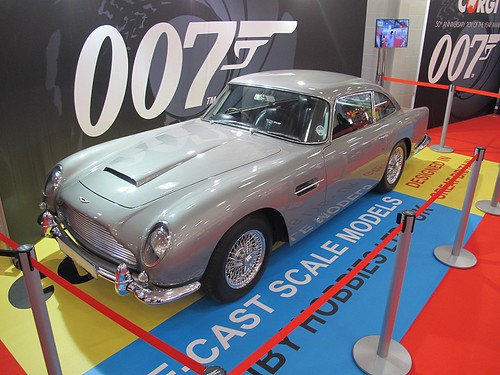
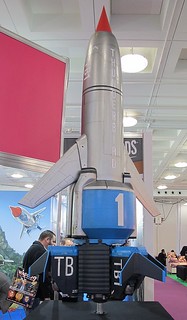
on the footplate of Bellerophon, a visit to the Hornby HQ in Margate,
Foxdale on the Isle of Man and Burton Beer museum.
All this plus the major event - visiting Adelaide in Australia to talk to the British Railway Modellers of Australia convention. The longest flights I've ever taken and the longest holiday I've ever taken too.
I met some great people, saw some amazing layouts and a fascinating country. The train ride on the Indian Pacific from Adelaide to Sydney was brilliant but just one highlight among a trip full of them.
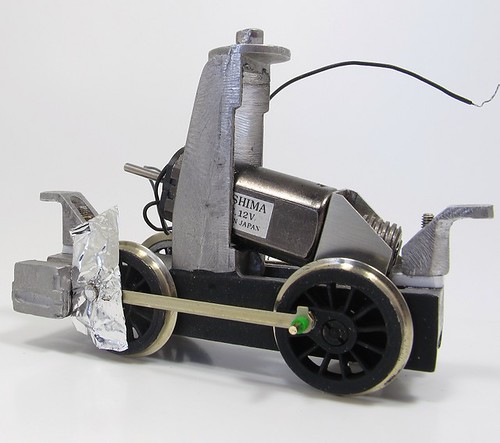
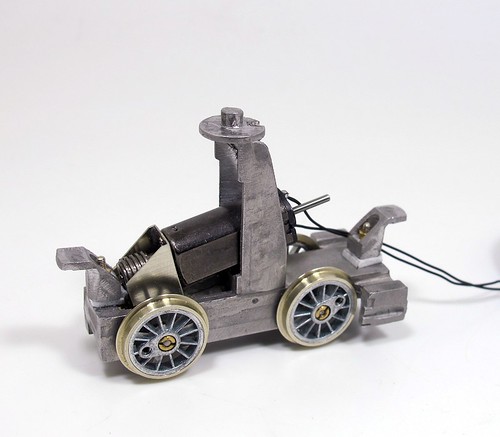
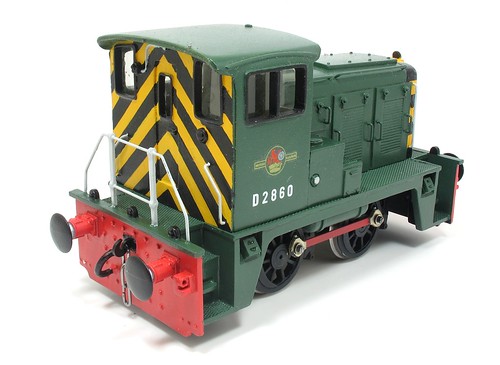
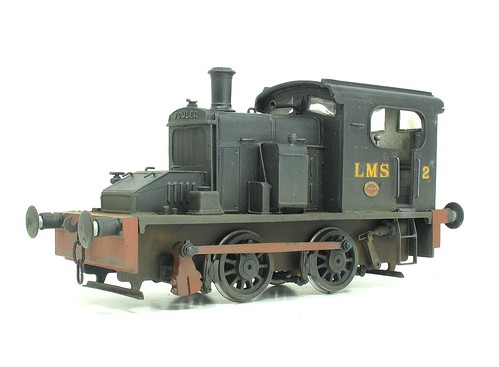
Back on the workbench, there has been plenty of action. For I start I finally finished the Fowler shunter in 7mm scale. Not back for something at least 10 years old.
Mind you, I still beat Dapol to producing a shunter even if Ixion just piped me to the post. The 08 still hasn't appeared even in test shot form and
I've now sold Clayhanger Yard, the layout I built for it to run on. This was a first, I've never sold a layout before and was really pleased to find it a good home.
Talking of selling stuff, the clearout of diecast tramcars continues. Check the eBay link on the right if you are interested...
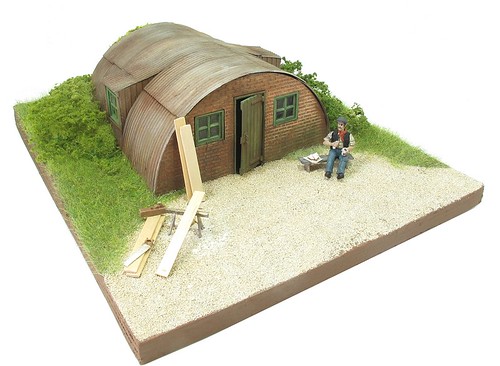
Magazine projects have included one of my favourite dioramas, a Nissen hut based on a 3D printed shell and covered with resin printed surfacing.
Wartime modelling has been a theme this year, we had a Rhomney, Hythe & Dymchurch armoured train for a start. Earlier in the year I'd been given a 4mm scale, 6mm gauge train pack to use as the basis for a cold war era model that fitted nicely on an IKEA wooden tray.
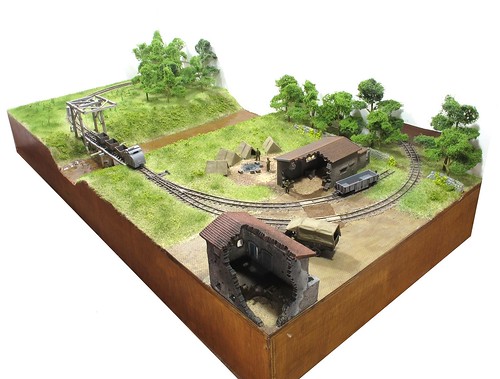
More significantly, 2014 saw the centenary of the outbreak of WW1. Knowing this would spark a lot of interest and probably inspire many modellers to have a go at layouts set in this era, I decided to follow my heart and set my efforts away from the blood and gore of the front line. Something military without guns and tanks allowed me to celebrate the efforts of the army engineers.
"Owen's Bridge", named after poet William Owen, has at it's centre a wooden bridge based on a plan for a design used by the Americans to get over French canals. At a metre long, it allowed me to demonstrate loads of techniques that would be just as applicable to conventional model railways.
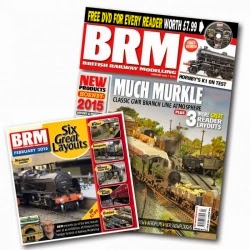
Talking of demonstrating, part of my job now involves me appearing on screen for each issue of BRM.
Every couple of months, I have to go and sit in a studio and try not to look too stupid as I talk viewers through a technique or show them around a model I've built. So far, reaction has been positive and we'll be carrying on with the DVD programme for the foreseeable future.
So what does 2015 hold?
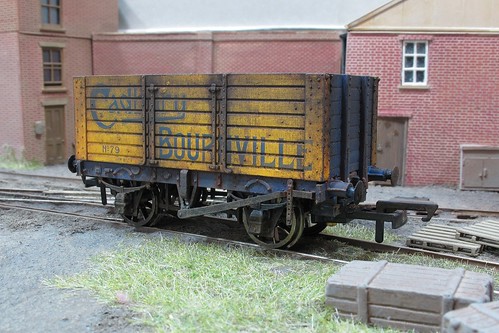
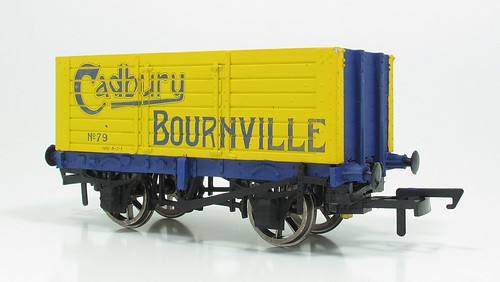
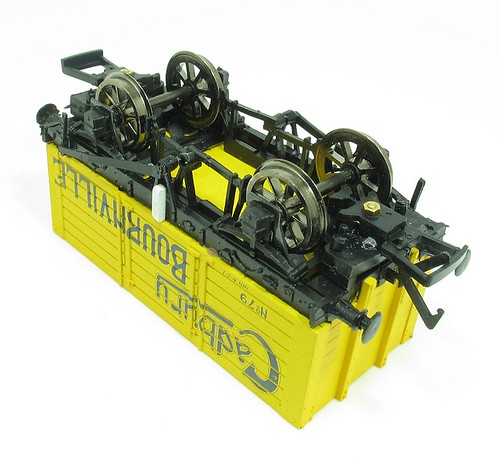
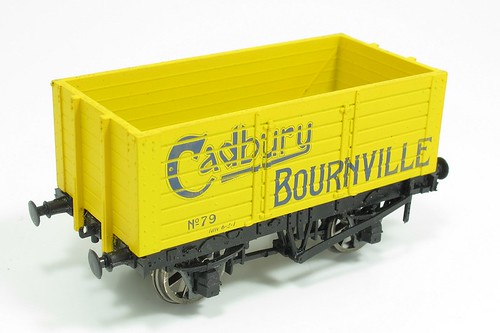
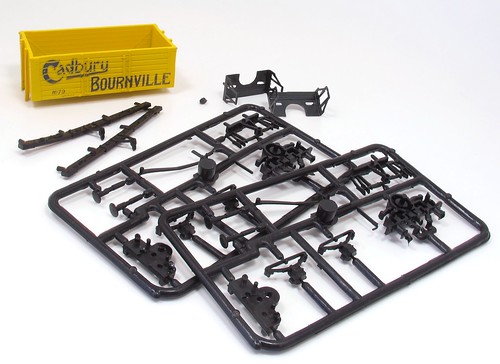
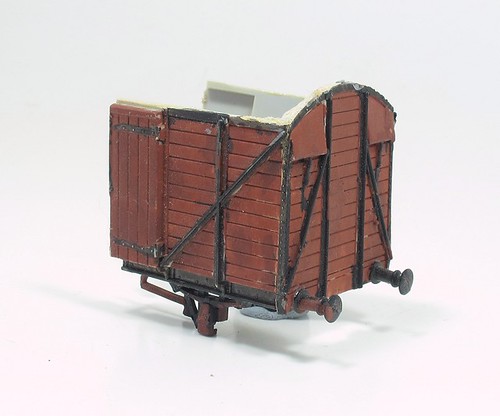
Well, I've a large number of projects on the books. There's also some leftovers from previous years - a couple of industrial Garratts, a radio controlled Bantam Tugboat last seen on May and even a 4mm scale Beetle wagon that just needs painting and has done for 6 months.
I'll also need to clear some storage space so some of the old dioramas will be going up for sale, watch this space or if there is one that interests you, get in touch. Not the Nissen hut though, I love that too much to let it go!
Let's hope this all goes to plan. I'm sure there will be lots of projects that will pop up during the next 12 months. I hope you continue to enjoy reading this blog and apologise for all the typos.
Happy New Year.


 If there is one thing this blog celebrates, it's workmanship. I don't care what I'm looking at, if it's really well made then I can appreciate it.
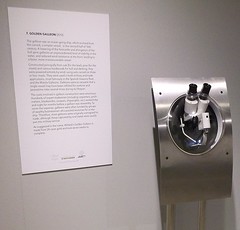


.jpg)