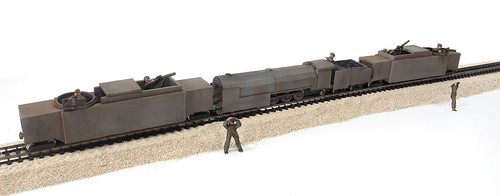
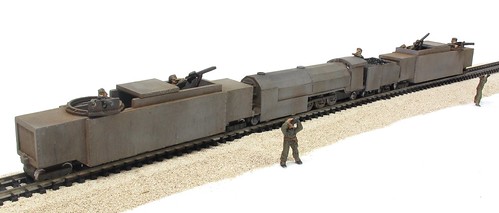
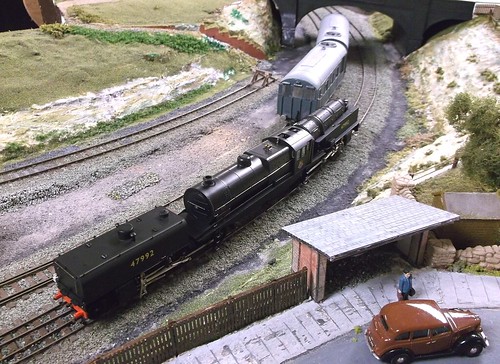
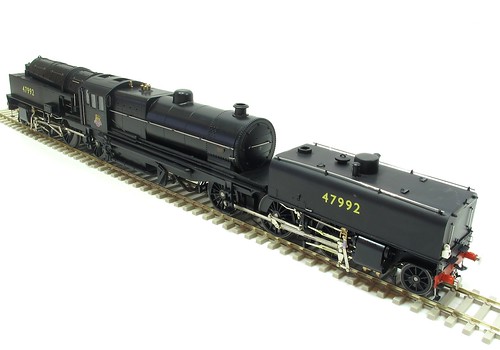
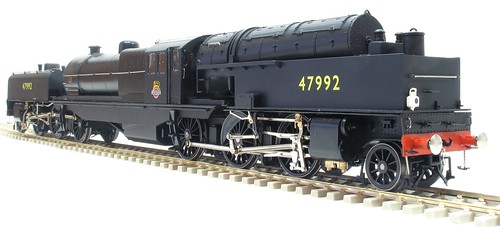
Yet another locomotive I never expected to see in RTR form is now in my possession - the famous (and infamous) Beyer-Garratt commissioned by
Hattons and manufactured by Heljan.
Many years ago I talked to the original David of Dapol (as opposed to Dapol Dave who is a completely different person) and he explained that despite promising to make one, after tooling up for the chassis at a cost of £100,000, commerically it hadn't made sense to move on to the body as the final price would have been over £100 per loco. Back in the early 1990s, this was a massive amount that no modeller would contemplate. Except me. I'd have paid it like a shot.
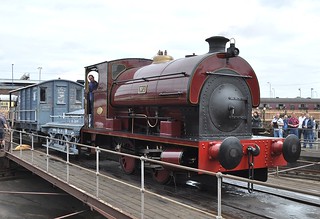
Which is why I forked out twice that for the loco you see above. I've seen a pre-production model in green plastic (it was broken) and an earlier version in LMS colours (it was broken) but I knew I needed to own one.
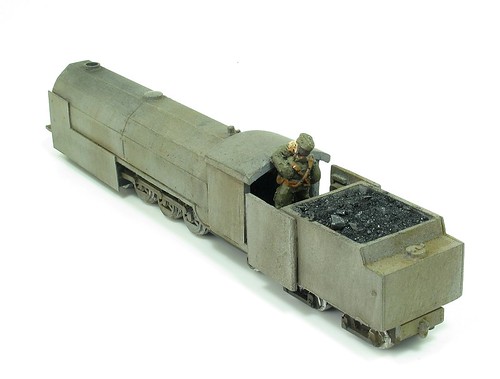
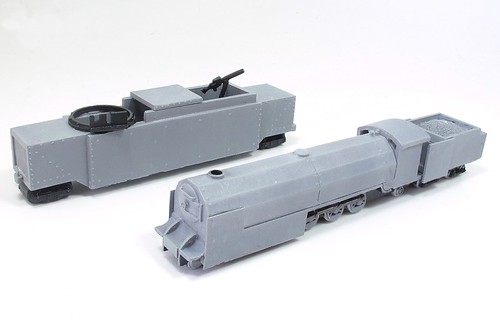
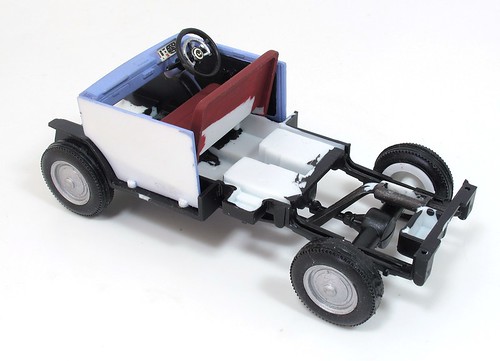
My choice was the rotating bunker version in clean BR colours. I have the K's kit for this loco but I was never happy with the chunky bunker they produced always planned to build mine with the (IMHO) more attractive standard bunker. I still will one day. Heljan have done a better job with their plastic version and it looks pretty good to me. As for weathering, I'll dirty it myself than you.
Some people have had problems with their models. Hitting the price point has (IMHO again) been at the cost of some niggles and fragile parts. I'd have been happy to pay and extra 50 quid and seen these resolved but then the Interweb would probably be full of moaning modellers if that had happened. Oh. Hold on...
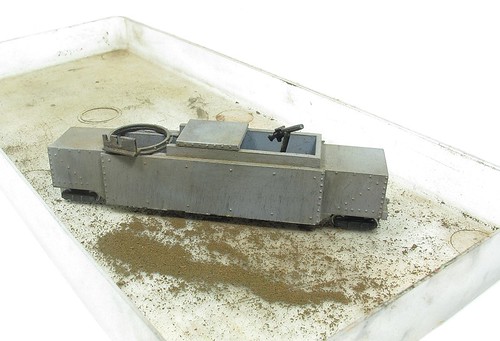
First up, I unpacked the model and gave it a done of 1960s H&M power. Straight from the box running is excellent. All the waggly bits waggle and the loco moves with plenty of apparent weight. Someone has engineered that bit well as it trundles far more like a real loco than a model.
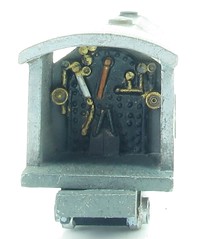
Niggles? Of course there are a few but nothing I can't fix:
What is this screw and why can I see it? Is there a filler cap missing or something? (Update: Yes there is. It had fallen out as was in the packaging)
The pony brakes hang in mid-air rather limply. At the very least they need to be brought closer to the wheel, possibly by replacing the plastic hangers with wire. First though, I'll check they were present on the real loco as I think some were removed.
The coupling chain. What on earth is going on here? 5 tiny links? Someone was told to add chain and no-one thought to explain what it looked like. Those steps look a bit random too.
Apart from this, at the moment I'm very happy. I have a great big chuff-chuff that runs well and looks great all for less than a kit of the same thing would be. I don't buy much RTR as my tastes tend toward things available in kit form, but this is a great addition to the cabinet and eventually will make a fantastic shunter on the layout!
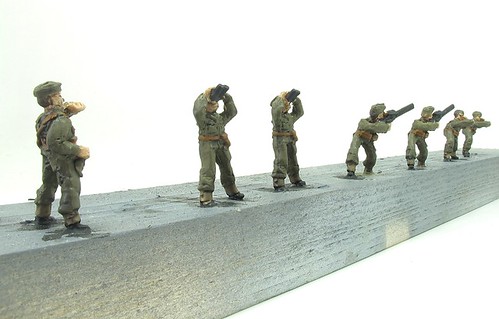
 I spend quite a lot of my time looking at things and wondering what colour they are.


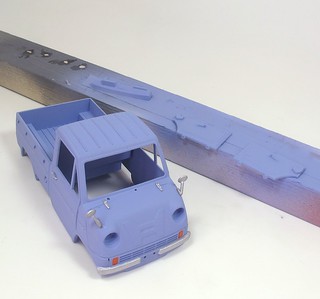

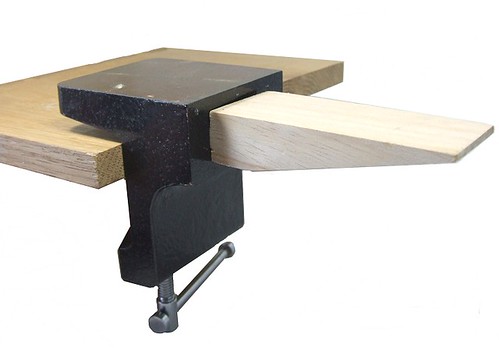
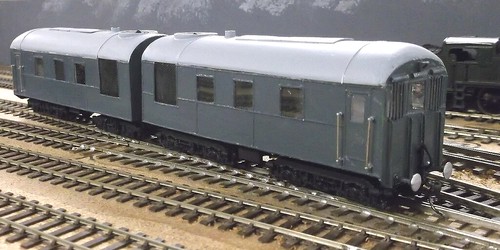
 So there I am, merrily varnishing a new baseboard.