Friday, June 30, 2017

How blue is my navy?


What colour is Navy blue?

Humbrol say it is No 77 and as I'm convinced that the Pinnacle hull isn't black as shown on the kit manufacturers website, this should be right.

Trouble is, the colour on the real boat looks different in different lighting.


I'm assuming there wasn't a re-paint between these two photos of course.

Anyway, for no other reason that I'd got a particularly good pot of enamel, great coverage and flow, the hull goes Humbrol Navy. To be fair, a coat of satin varnish does bring it alive. It's still better than the colour Billings use on their model.

Thursday, June 29, 2017

Filling pinholes


Before painting, there were quite a few pinholes in the hull to be dealt with. While tiny, they would ruin the finished model and once paint starts to happen, it's too late to do anything about them. 

As I've mentioned before, I'm hopeless with filler, the best I find is Deluxe Materials Perfect Plastic Putty. This was smeared over the holes, trying to keep the layer as thin as possible, and then left overnight to harden. 

Excess "putty" was removed using abrasive sticks and I was pleased how tidily the end result looks. A coarse stick did most of the work but I finished up with something much finer to avoid scratches in the smooth hull sides.

Wednesday, June 28, 2017

Warehouse Wednesday: Silos

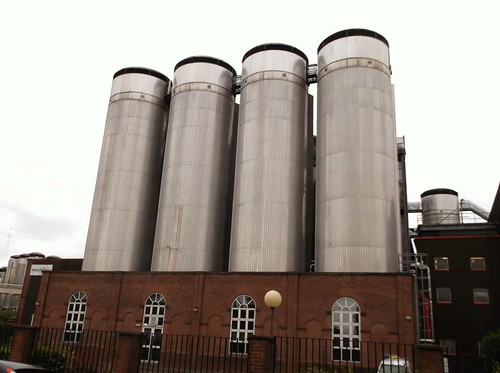
Burton silos2

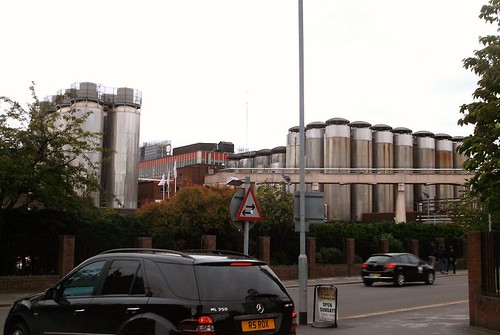
I've been seeing a lot of oast houses recently while on my travels. Annoyingly, I haven't managed to take photos of these interesting buildings. I did have more luck in Burton, with the huge industrial silos attached to the breweries.

To be honest, I'm a bit hazy as to exactly what these things are actually for,looking at this handy graphic:


and reading the associated blog, I'm still confused. Since this is a Coors brewery and therefore they are probably producing lager, I'm not convinced they are doing anything useful at all. 

Modelling them would need some shiny material and judging by the photos below, some hefty rust streaks.

Burton silos


Tuesday, June 27, 2017

Superglue time

Tradition says fixing whitemetal bits to things involved epoxy resin. I can't think why, but that was my plan. I'd even got the mixing stick out.

Then I remembered that I'm always telling people how good superglue is and why I prefer it for this sort of job. Maybe it's the heat.

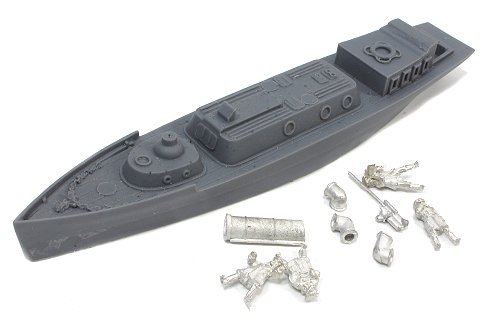
Anyway, once the parts were cleaned of mold lines with abrasive sticks, everything was quickly glued in place with green Zap-A-Gap. I decided that chimney deserved a bit of support so drilled it and the resin superstucture for some brass wire. Making the holes 0./5mm oversize avoids having to line things up perfectly.

More superglue fixes the crew down to a lolly stick ready for painting. They aren't the greatest figures in the world, but will do the job here.

Monday, June 26, 2017

Steam Pinnace

I'm not a fan of grey boats. I'm not a fan of warfare in general and so while have nothing but respect for those who served on the prototypes, and can marvel at the workmanship of those who build models, I prefer to confine my model making to more pleasant subjects.

The exception that proves the rule however, could be a Steam Pinnace.


Pinnace's weren't warships per se, they were support vessels carried aboard larger boats. Acting as the captain's barge, they ferried men and equipment from the shore. Armed with a 3 pounder gun, they could fight their corner too. 

Steam Pinnace 199 is  believed to be the last such vessel still steaming and is displayed at Portsmouth Historic Dockyard. Moored in a deep trench, it's difficult to photograph, even at high tide, hence the odd composition above. 

In my "to do" pile there is a Billings kit which I'd like to build with radio control. I know this can be done, even allowing for the tiny size of the model. Bought because Pinnaces are attractive boats (navy blue, not grey for a start) and 'cos it was cheap, one day I'll get around to it. Having the chance to see a real one and take some detail photos will certainly help one day. 


In the meantime, I have a 1/72nd static model from SGT's Mess Models. Bought at Ally Pally model railway show, I thought it was an interesting model and would make a nice fun project. 

Most of the work is done for the modeller with a 1 piece hull. There are a few whitemetal parts to fit plus a crew. Basically, it's all about painting. Hopefully.  


Sunday, June 25, 2017

Warminster 2017

According to MRJ, "The emphasis of the show is very much on modelling and the creative side of the hobby, and layouts, traders and demonstrators has been selected with that in mind"

I thought it sounded a bit pretentious.

By Railex, there seemed to be a lot of interest with organisers starting to get concerned the numbers through the door might be several times the 350 they hoped for. Shades of the old MRJ show with a queue around the block maybe with unhappy punters stewing in their tweed.

Arun Quay layout view

The big draw was to be the first showing of Arun Quay, Gordon and Maggie Gravett's follow up to the excellent Pempoul and the latest in a series of high-quality models railways. We'd seen a few photos in print and now it was time to see the real thing in the plaster.

We weren't disappointed. While a very modest size, the quality of workmanship is superb and more importantly, the atmosphere is spot on. A way of being completely finished, we were able to marvel at the lovely buildings and scenery. I'd love to be able to sculpt walls as good as these. Maybe one day, with a lot of practise, I will.

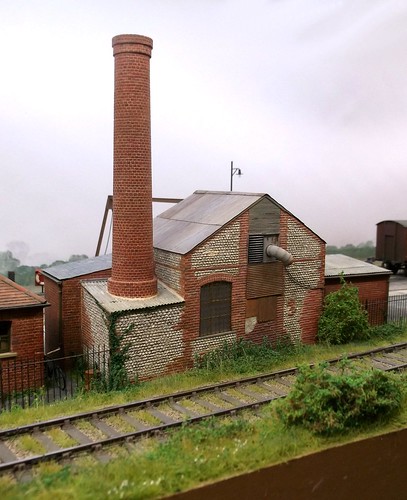
Arun Quay boilerhouse

All this fuss of course, could have overshadowed the other models on show. Warminster is basically a very high quality small-town show. I mean this in the nicest sense - everyone was very friendly and chatty for a start. I talked to most of the layout builders and came away with some inspirational ideas for a start. Things to try in the future.

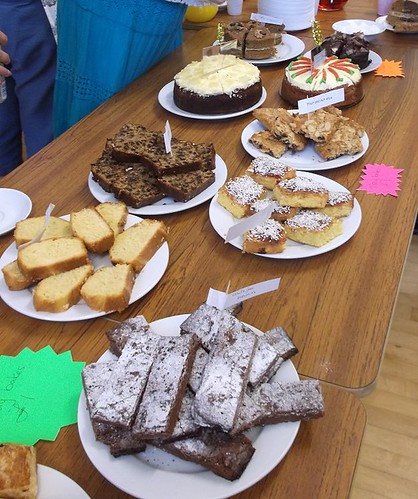
Just as importantly, there was cake and lots of it. Thanks to sharing a car park with Morrison's, there was no need to cater for meals, just refreshments. That's good as the hall isn't huge and loads of modellers sitting around chomping would have cramped the layout space. I can report that both carrot and chocolate cake were as high a quality as the layouts on display.

Cake selection

Weirdly, on returning from lunch, the numbers in the hall had grown rather than thinned as normally happens. This was a bit of a nuisance as my father and I had been banking on this to give us space to get to some of the exhibits.

Fortunately, the predicted numbers didn't arrive. I'd guess the figure was closer to the organisers hopes. It was generally easy to walk around and despite temperatures approaching 30 degrees, not unpleasant thanks to the lack of smelly people. Those who did make the trip enjoyed themselves simply because everything was so good.

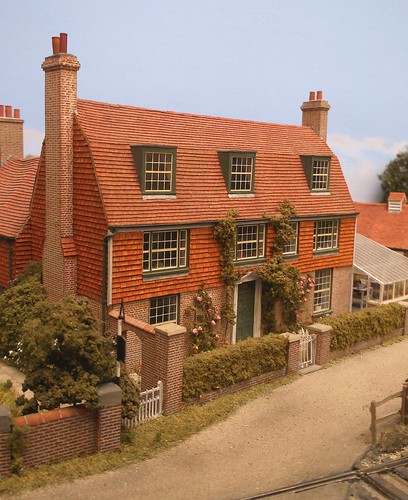
Horselunges house

Tradewise, the "pre-loved" stall was both varied and reasonably priced. A single RTR seller was plenty as was one book seller. There was scenery, DCC and kits and motors. All very much fitting the ethos of the exhibition.

Maybe the MRJ advert was a bit pretentious, but the event itself certainly delivered everything promised. If you wanted to meet the stars of the finescale world and see a selection of absolutely cracking layouts, then this is a show you should have been at.

I know people are twisting arms to say this should be an annual event. If it does go that way, keeping the standards high will be tough. Maybe it should be a one-off so those of us who did go can bore people endlessly by reminiscing about such a legendary event for years to come...
More photos on Flickr. 

Saturday, June 24, 2017

Great Central Model railway exhibition 2017

The GCR's modelling event each year continues to grow in scale. A quick look at the website confirms that all the stations have some displays so visitors wishing to see the lot will need to spend time on the regular full-size train services running through the day. This is, of course, all part of the appeal.

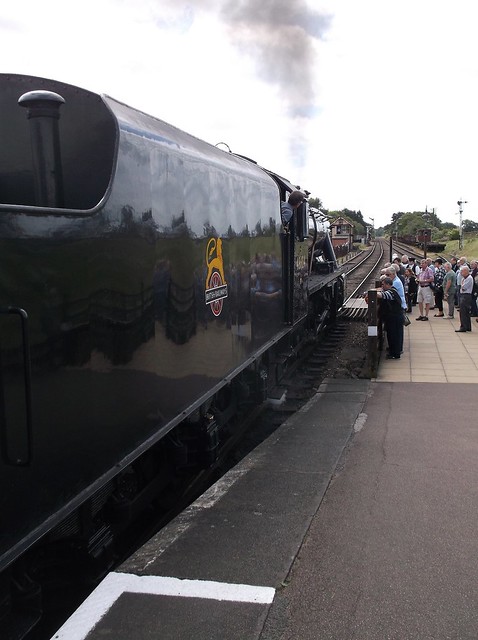
8F

If all this travelling is too much for you, the main event takes place at Quorn station where a mahoosive marquee is erected at quite substantial cost. For most visitors, this is as far as they go. Car parking is in a nearby field and you can walk down to the event where you find everything a modeller could desire.

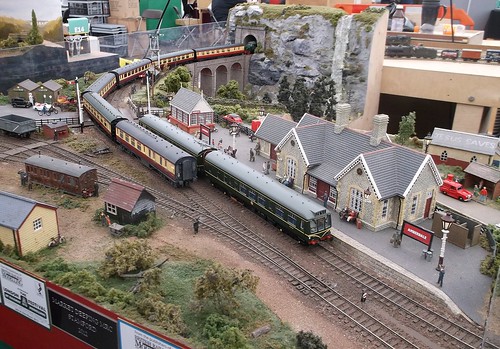
Amberdale

Over 140 stands (layouts, trade, societies) were in attendance. There really was something for everyone from big tail chasers to an O gauge layout in a single boxfile. If there is a complaint, it's that there is too much to see in a single day. This is more of a problem if your interests include garden railways and model engineering as these are found at Loughborough and Rothley stations.

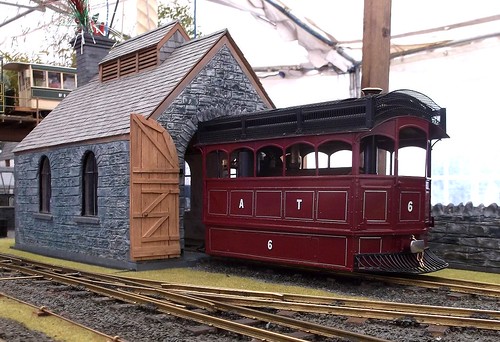
Steam tram

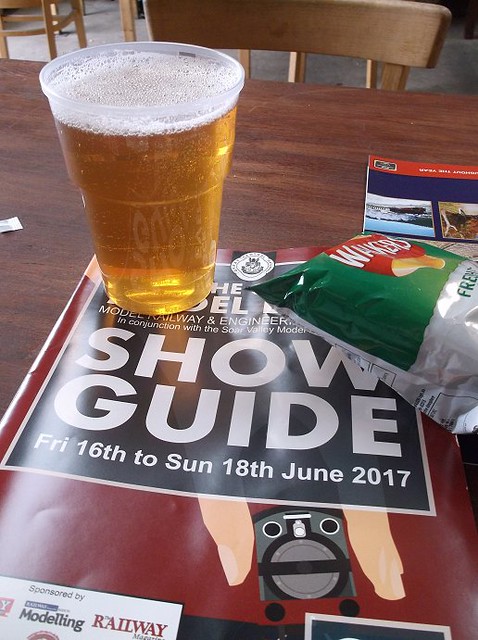
I started at Loughborough having travelled in by train. Not an easy journey with changes at New Street and Leicester plus, thanks to split ticketing, a wad of cardboard pieces. My reasons were simple enough, I was spending more than enough time driving that week, didn't wish to pay a fiver to park in a potentially muddy field and more importantly, for the first time I could try the real ale bar found in the middle of the show.

Beer and show guide

As it was, train travel worked well. I managed a few minutes on Loughborough station. Time to spend a bit of cash on the excellent second hand and railwayana stalls plus a quick look through the garden railway displays. If you don't do these, you really are missing out. Having a steam train to catch probably saved me a load of money...

The main event in the tent suffered a little from the excellent weather. While the parking may have been fine, temperatures under canvas were rising as was the humidity. One or two layouts suffered electrical gremlins because of this, and that was on the Friday which is I suspect the quieter day.

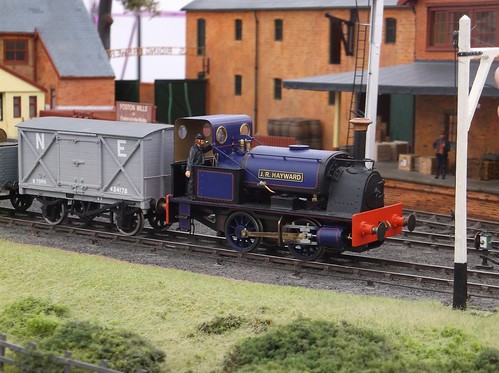
Hawthorn shunter

With so much to see, picking a favourite layout, or even one I'd like to build is pretty much impossible. A single pass around the show was all time allowed, although as I had editor Andy with me, there was quite a lot of chatting to do as well, it's part of the job you know!

Moving on to Rothley, the display was quieter. Apart from the G3 Blankgang layout, it was all static, but I still found much to enjoy.

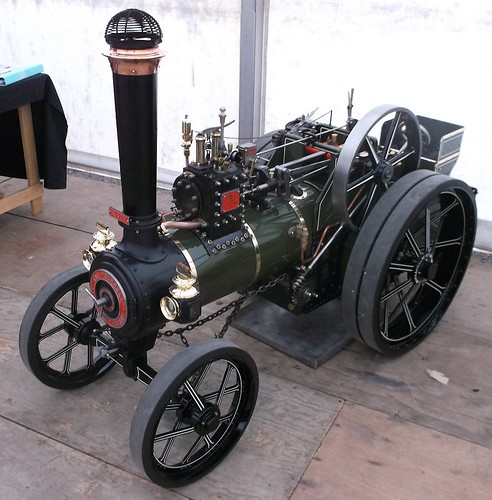
Traction engine

I'm never quite sure what to make of this show. It's huge and there's loads of good stuff to see every year. 

I'm not a fan of the tent - half the floor was very good, the other half a little bouncy for a start and I worry what would happen in heavy rain. BUT, that is just me. 

Visitors enjoyed themselves and the layouts didn't seem too badly affected. The whole ambiance is nice and very different from a "normal" show with real trains passing a few feet away and providing a soundtrack to proceedings. 

As a day out, it's not cheap at 20 quid entrance plus parking but as this includes rides, it's not so pricey. In value for money terms, I'd say that most enthusiasts, it scores very highly. 

As I say, looking around really needs more than a day if you want to see everything. Can't say that very often!

Friday, June 23, 2017

An exotic garden railway feature

Buying presents for my dad isn't easy. He doesn't do technology or flash stuff. No point buying sweets either since he went sugar free.

With father's day approaching, I found myself in Hereford Model Centre looking for ideas. No kits - like me he has a huge backlog of projects. I wanted something fun anyway.

 He's always been interested in birds, there is an aviary in his distant past as well as a couple of years working at a zoo. When I spotted the Playmobil Tropical birds set, it looked perfect and as expected, amused him greatly.

Now, we have a little garden railway project on the go and Playmobil products are about the right size, so could this live outside? Well, it's plastic so no worried on this score but that means it's light and would be blown away in the wind. That tree needs roots.

Like most modellers, I collect "useful" things and in the paintbrush pot are several swizzle sticks.

Breaking one in half, it fitted into a 4mm diameter holes drilled up the tree. Dipped in Plastic Weld, the paddle end soon stuck in place. That ought to be enough, but as I had more stick left over, I added a piece through the paddle.

Job done, the "roots" are pushed hard into the earth and the tree should stay put no matter how hard the wind blows.


Thursday, June 22, 2017

Back to the 70s in BRM

I'm taking a trip back in time in July's issue of BRM. Presented with a Metcalfe card kit for a corner shop and told to do something interesting with it, inspired by a novel I had just finished, I've taken it back to the long hot summer of 1976.


I'm a big fan of card kits, but if I'm honest, built straight from the packet they can look just like card kits. I've made a few subtle modifications that I think lift this model a bit. Nothing huge, the kit is fundamentally very good, but just tweaks. The result surprised me. 

And the 1976 bit? If you can't see it, you'll have to buy the issue. You'll also find a photos of a VERY young me...


Should you be feeling inspired after my trip to the 7mm NG show last week, I've built a nice simple loco to get you started in the scale. Smallbrook studios "Hero" is a good model and well withing the capabilities of most modellers who can work a tube of superglue and pot of paint.

Next month we feature Geoff Taylor's Barmouth Junction, so this time I've interviewed him. His methods for constructing model buildings were well documented in a couple of books, both of which are now obsolete as he doesn't use any of them any more (OK, the methods still work, but Geoff has others now). A lovely guy, we had a good chat. It's very interesting to see how a professional model maker works.

This month really does feature the Ecclesbourne Railway as an extra on the DVD. Half an hour of slow TV with a trip along the length of the line chatting to the driver. 

(Sorry that I said this was last month. I'm writing this before I see a copy of the mag)


Sticking with the DVD, to tie in with a layout featuring canal boats, I'm building a nice, simple kit for a small live-aboard vessel. It's a cheap and attractive addition to any waterways scene. 


Wednesday, June 21, 2017

Warehouse Wednesday: Workshop doors

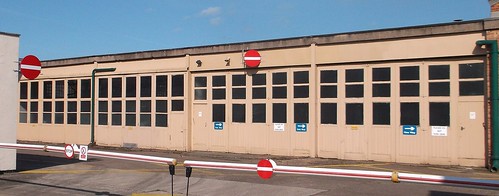
Workshop doors

There's not much to say about this week's photo. 

I spotted these fantastic 50s looking workshop doors in Loughborough. Perfect for a steam era onwards layout, they are the sort of simple, basic design, that you never quite think of when building a model.

See more on Google Streetview, including the nifty half Citroen's in the wall!

Tuesday, June 20, 2017

Prototype for everything: Unconvincing water colours

I'm a bit picky about model water. In the UK, it should be brown. Not blue, or bright green.

So, imagine my surprise when I arrived at boat club last week to see this:


Bright, green water! 


Seriously - bright green!

It turns out that as part of out weed reduction programme, the water has been treated and one of the chemicals is a green dye. None of this harms the fish, but should kill off the floating weed the lazy blighters haven't been eating. 

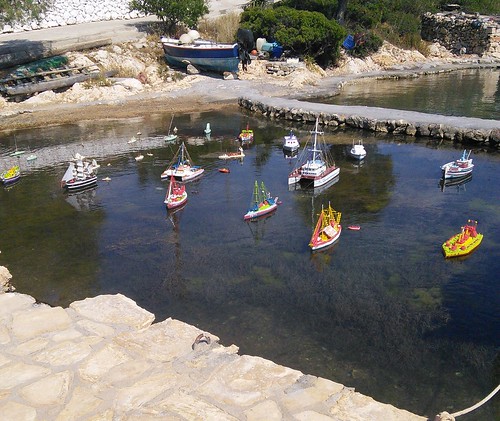
If you prefer clear water, the a friend recommends a trip to Akri in Greece. 

Greek model boats

These boats are made from odd'n'ends by a local taverna owner and children from visiting yachts buy them as souvenirs.

Monday, June 19, 2017

Brandbright hopper in Garden Rail

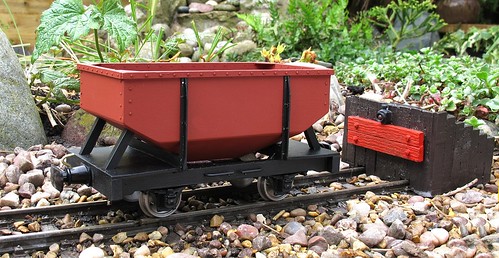
Brandbright Hopper Wagon

It's time to get my hand back in with a quick review in Garden Rail 275. My subject is Brandbright's latest kit - a hopper wagon originally intended for the Campbeltown & Machrihinish Railway. 

The line closed before any where built, but a drawing exists and the design could find a place on most lines. 

Produced in laser-cut wood, as I explain in the article, there are some clever design features to make this an enjoyable kit. Mind you, I really need to weather my model!

Sunday, June 18, 2017

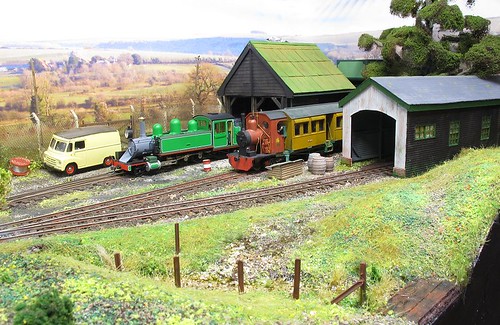
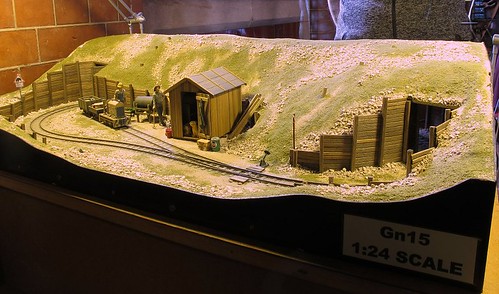
7mm Narrow Gauge 2017

Railcar


When you recive a ticket for an exhibition through the post listing you as a "Special Guest" then you've really no choice but to along. (Thanks Neil)

Burton-on-Trent was the venue for the 7mm Narrow Gauge Association's AGM and annual exhibition. Featuring 13 layouts and a variety of trade, it's worth the trip even if you have to pay to go in.

 I like NG modelling as the lack of RTR models tends to push people toward interesting an unusual prototypes. Let's face it, if you are going to have to build everything then it really doesn't matter what you choose!
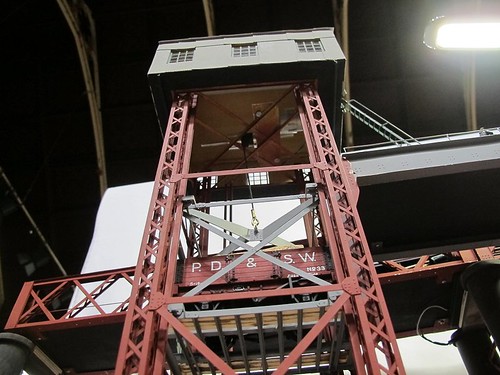
Loco lift

In my guest capacity, I was also taking photos for magazine use - hopefully for 2 different magazines. Sadly, this limits the number of pics I can use here, but hopefully these will prove interesting.

Picking a "layout I'd like to build" is difficult as there were elements of several that I really liked. I think I'll probably plump for one in the wrong scale - Black Cat Mine is designed as a showcase for the Pepper 7 range of kits. G scale, but running on OO track, it looks the part and is full of detail. 

Black Cat Mine

One bonus I hadn't expected was a new (to me) cake. Served up with tea, the Nelson's square is a couple of pastry layers sandwiching some mincemeat. Very nice it is too. 

Loco servicing - US

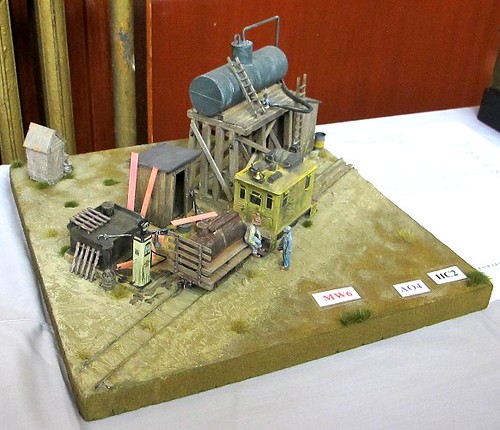
I enjoyed all the layouts but was especailly interested in the competition dioramas - 1ft square displays with a loco servicing yard theme. Small, but achievable modelling, perfect for the space-starved who just want to have a go at something. 

Saturday, June 17, 2017

Saturday Film club: R186 signal box


It's Fathers Day tomorrow, so I hope you are all rushing out to purchase something suitable for your aged parents. 

Of course, if your parent isn't Mr Bennett from the TV show, Take Hart then you might decide to buy them something else. At the very least, you will probably wrap the present up rather than just handing it over in the paper bag from the shop. Mind you, what does he expect if he won't let the lad play with the trains? 

Nowadays, you'd do well to find a model shop as well stocked with Hornby stuff as this one. According to the YouTube comments, this was filmed in Potters Bar but I can't work out if the shop still exists. There IS a shop on Google Sreetview which does models and scuba gear, so presumably the Hornby display is long gone...

Friday, June 16, 2017

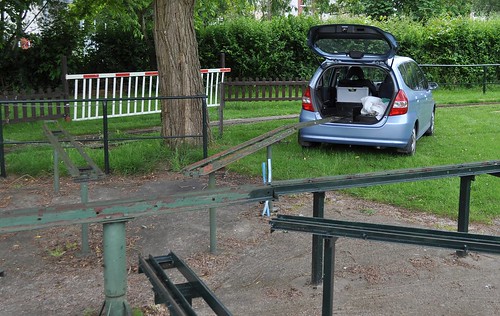
Hereford Society of Model Engineers

Walk the loco

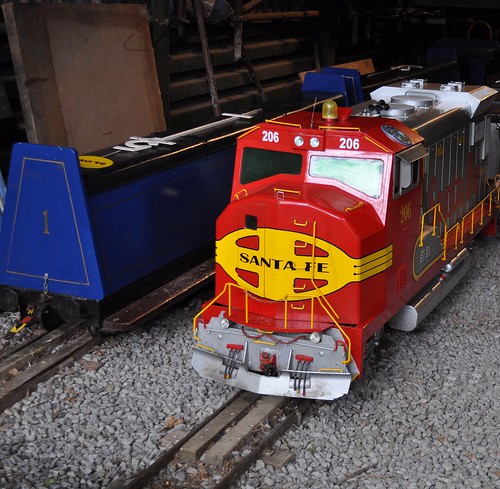
With my new Engineering in Miniature role looming, it's time to get out and about a bit. My first trip out was to Hereford Society of Model Engineers.

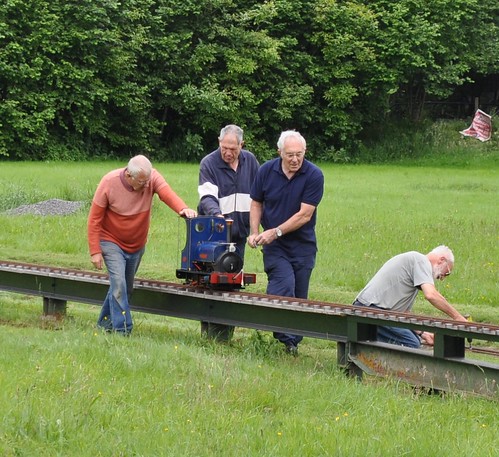
Based on a 5 acre site just outside the city, about 10 minutes drive from Hereford Model Centre even if you get stopped at every traffic light, the society has grown over the last 20 years to enjoy two tracks, a boating pool, workshops and clubrooms. Over 90 members take part in club activities including regular running sessions.

Howards Halt

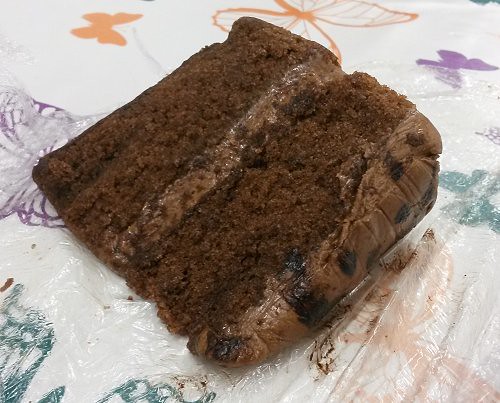
My invite for was for the regular Tuesday work session. Over 25 (sorry, I didn't count) men turned up to do all the important maintenance jobs the site requires. Grass was cut, re-sleepering took place, fences were painted and construction of a new archway continued. So many people turn up to do this every week that a local buttie van stops off to sell sandwiches and cake to keep them all going.

Chocolate cake

All this effort shows in well-maintained grounds that look fantastic. The group are fortunate in owning the site, having effectively been gifted it by the local council. That's not quite as generous as it might sound - the land floods in bad weather thanks to its close proximity to the river Wye. And floods properly. See the flood board on the tunnel entrance in the photo above? The water has been up to the top of there.

Santa Fe loco

Fortunately, flooding can be anticipated and 4 days notice is usually given. This allows for locos and rolling stock to be hoisted, using a crane built by the members, onto supports in the especially tall engine shed, out of harms way. Other infrastructure is either removable or can stand getting wet. Water usually creeps up and recedes slowly, so it doesn't even disturb the ballast. Replacing wooden sleepers with plastic is an ongoing project that makes sense though. 

Turntable and loading ramp

When dry, there is nearly a mile of ground level 5 and 7 1/4 inch track. In addition, a separate raised track supports 3 1/2 and 5 inch gauges. Both tracks have turntable facilities that both rotate locos and allow engines to be rolled out of the back of vehicles. I always wondered how this happened, now I know!

A modest boating pond is available and I certainly fancy giving it a go in the future. In fact I don't expect this is the last visit I'll make as I was made incredibly welcome by all the members. If you live in the area and are interested in model engineering, or just fancy taking the family for a train ride, check them out.

Hereford Society of Model Engineers website. 

Thursday, June 15, 2017

Delving inside a Peugeot door mirror

I've owned my Peugeot 206 for around 8 years now.

When I bought it, the most obvious fault was the passenger side door mirror being wrapped with black tape. Not idea but certainly not a deal breaker for me. Years before, I'd changed the same mirror on a 306, so I didn't think it held any worries.

Needless to say, the black tape didn't look too bad, and it worked OK so I left well alone. Part of the problem was that the 306 replacement mirror had been an aftermarket one. It fitted perfectly, but had a black shell, not maroon to match the car.

I decided that I preferred tape to a non-matching mirror. Anyway, it worked.

Well, it worked until recently. After all this time, the tape had started to let go. The final straw was when I knocked it while washing the car. Time for new tape. I didn't have any proper gaffa tape to hand so used some stuff from Wilco. Black and smooth, it looked great. Sadly, the glue gave up after a couple of days.

Unhappy, I decided to use silver gaffa and cover it with the black. First, I peeled and cut away the old tape - at which point I realised that the problem wasn't as bad as feared.

Basically, the mirror plastic was complete, but some fixings inside had broken. The tape tied the plastic down to the metal arm.

Spotting some star-topped fixings in the bottom, I started to take the thing to bits but it quickly became apparent that this was going to be a fiddlier job than expected. Better done on the bench.


Removing the mirror unit is simple. 

Unclip the inner plastic panel. Undo the big white electrical connector and then use a T15 star headed screwdriver to undo the three bolts arrowed. The unit can then be wiggled off from outside and the thing taken to the bench. 


To be honest, detailes of my repair won't help anyone much, but some general notes might.  

There are two T15 bolts in the bottom but you can't release the plastic with the mirror in place. It's held with a spring clip which is difficult to fathom out but if you swing the mirror so the outer edge is as far forward as possible, a small screwdriver can flick the wires out of the clip. You can see them in the photo above which should help.

Incidentally, the brown wires are for the heater. Heated wing mirrors - how cool is that? 

Removing the  plastic casing is made easier by releasing the motor unit using a T10 star screwdriver. It stayed intact for me with the three long screws removed. 


Inside the mirror, at the bottom, there is an odd shaped flappy thing not obviously attached to anything. From the 306 experience, I know this to be the exterior temperature sensor. I know this because the aftermarket mirror didn't include one and I had to hack the old sensor into the new wiring...

Anyway, using copious amounts of epoxy glue, I repaired all the broken bits of plastic and my mirror looks as good as a 19 year old mirror can be expected to. Sensible people would of course just bin the unit and replace it whole - a primered version can be bought for 30 quid.  Painting the top would take longer than swapping the units over. 

The moral of the story is that some jobs aren't as complicated as they might appear. I could have done this years ago!


Legal note: This is an accurate description of what I did. I am not a professional mechanic and these notes are offered for entertainment only. If you chose to follow them and things don't work, it's not my fault. Sorry. If you are at all unsure then get a professional to do the job. The car used was a 1996 UK spec 206, other models may be different.