A daily updated blog typed by someone with painty hands, oil under his fingernails and the smell of solder in his nostrils who likes making all sort of models and miniatures. And fixing things.
Thursday, February 11, 2016
Clapperboard
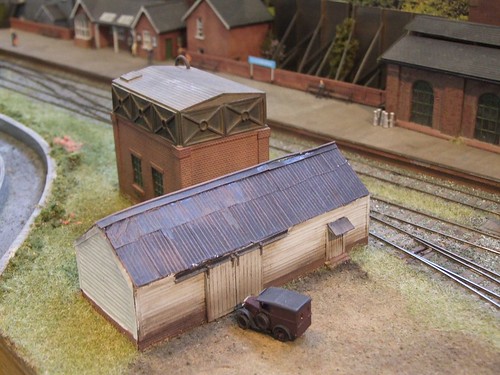
Duncan asks: Years ago- 40- I bought some Slater's clapboard and clagged it together to make a NER waiting shelter. It did not stand up well to my card models- reinforced cereal boxes with Superquick brick/stone papers. I am returning to card construction- it's a lovely medium- and would be grateful if you would please advise me how to create the clapboard in wooden shelters and signalboxes without going mad!
Hmmm. Not sure I can promise you won't go mad, but maybe I can give some pointers.
I think there are two things to do before you start.
First - Mark the building to be clad with lines for follow with the boards. I draw lots of pencil lines on the card shell. Don't try to do this stuff by eye.
Second, cut lots and lots of strips of very thin card or even paper to use for the boards. Cut more than you think you need. Do this the day before cladding. It's not an exciting job but like tiling a model roof, if you are in the right frame of mind, it can be very relaxing. You'll need to have all the ingredients to hand though.
Planking starts at the bottom with a completely hidden sliver of plank. Then apply a smear of PVA to the wall for the next few planks and fix them in position. Don't rush this, I know real clapboard can be wobbly but it's an easy effect to overdo.
The vertical strips at the end will tidy things up as well and these just stick on the face of the clapboard. This might not be right but it's easy and neatness wins in the job like this.
Don't try to do too much in one session. That way madness really lies.
Good luck!
Labels:
ask phil,
buildings,
model railway
Subscribe to:
Post Comments (Atom)

No comments:
Post a Comment