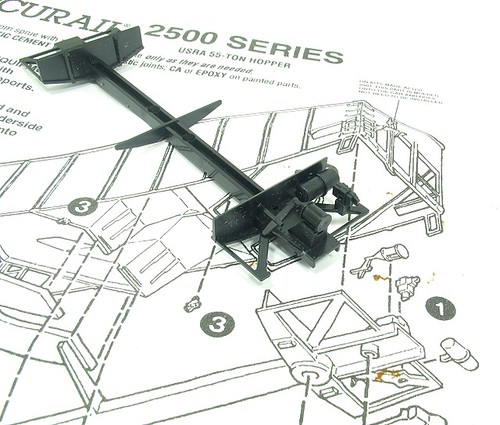
Nice drawing in the hopper instructions. In theory it shows were all the brake gubbins goes on the underframe spine. It's a pity the illustration is of the underside and they all go on top.
To be fair, we are only talking about 3 parts and if you bothered to look at a prototype picture (I didn't) it's probably obvious. For the rest of us guesswork will do aided bu locating pins in the shape of half-moons that fit in similar shape holes. You can't really go wrong unless you really work at forcing the wrong part in the wrong hole the wrong way around.
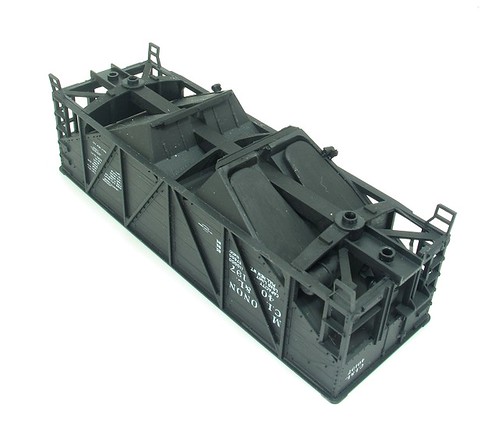
The underframe fits beneath the hopper. It's a very tight squeeze, the central beam takes quite a hard shove to go between the chutes. This means sliding it back and forth for final positioning is pretty much out for the question. The body isn't quite symmetrical either so you have to make sure the brake gubbins is at the right end. Fortunately I hadn't glued it in place at that point...
In the photo you can see one of the big steel weights that slots in under each bin. These are really neat and invisible from normal viewing angles. The instructions do suggest painting them black if you want to - I can't imaging anyone not wanting to if I'm honest. Really keep types will fill around the edges but it's not essential IMHO as the framing and dark colour hide any tiny gaps.
While the paint was out, all the black plastic parts needed a coat. I suppose if you aren't fussy then self-coloured plastic is OK, but I am and it isn't. Not when my good friend Humbrol 33 is to hand anyway.
No comments:
Post a Comment