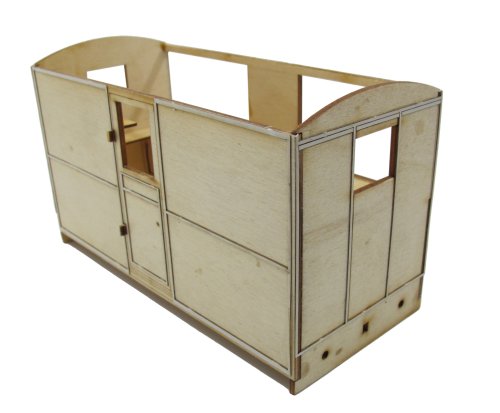
All the raised panel details are supplied as laser-cut card frets which need to be carefully removed and stuck into place. The instructions suggest using spraymount, but that pongs, and I've only got the repositionable stuff anyway, so they would peel off again.
Instead, I used runny superglue placed in the wood/card join and allowed to run into it by capillary action. My Zap thin glue is passed it's best, but with some kicker sprayed on it, did the job. Mind you, the kicker stinks too, and probably isn't good for me to inhale.
Although the position of the raised detail is etched into the wood, at the ends, the top horizontal is either too high on the card, or too low on the end. I just used a bit of spare fret to double the depth of the moulding, but on balance, I should have cut and lowered the horizontal part. It would have been easy to do, but only before the glue had dried.
Another coat of sanding sealer will hopefully provide extra hold, and I'm still not convinced about superglue and wood...
Spare fret is handy by the way. No hinges are provided, but a bit of leftover fret does the job nicely. Waste not want not!

1 comment:
Hi Phil, still looks great!
I use a lot of quick drying PVA (the blue bottle) even brass etch to resin on ship models.
Sure that would work better for you.
Nigel.
Post a Comment