My dream job:
Did you know that when the BBC Director General’s job comes up, it has to be advertised publicly ? The controller of Radio 4 and 7 was in the paper last weekend but that’s not the one I want, I want to run the telly.
During the interview, one of the questions I’m sure will be asked is “How will you develop the station in the future ?”
My answer will be both simple and brilliant. On day one a flunky will be sent down to the nearest big branch of WH Smith, not the one inside TV Centre, a proper one. The instruction will be to purchase one copy of every magazine on sale. Except the celebrity ones of course – we’ve got to look after the licence fee after all.
While they are out doing this, the Eastenders producers will be in hearing about the new Dalek family moving into Albert Square but that’s another story.
Eventually I will have a big boardroom full of glossy magazines. A couple of hours later many of them will be in the bin but those that remain form the kernel of my new schedule. Creative types will be invited along for a meeting and told to pull something out of the pile and make programmes based on it.
Crazy ? No. You see I know that people will watch the programmes for the simple reason that they are willing to hand over hard earned cash for the magazine. While the sales of mags won’t exactly equate to viewing figures, I reckon that you can allow 50 people viewing for free for each person who pays to read the content and those sort of numbers will be on a par with BBC 4 and even daytime on the main channels. The papers will doubtless nickname it “Anorak Vision” but it won’t matter. For a start the numbers will be on my side, and if the programmes are any good I’m building a loyal audience who will march on any government trying to depose me bearing flaming torches and pitchforks.
All this is because I think that model makers deserve some telly coverage. There is a saying in the celebrity world that if you aren’t on television, you are dead. That’s what is happening to us – if you don’t warrant some airtime then your activities are seen as odd. We are ostracised by a biased media more interested in coming up with yet another take on selling antiques at a car boot sale than doing something new. Just take a look at the number of derivative shows in the nearest listing guide and then despair when we hear how Britain is full of “creative’s” who will get us out of recession.
There have been attempts at this of course. ModelRailway TV is an internet based channel that makes its own programmes. I’m not a subscriber but those who are seem happy. Perhaps with a slight upgrade of facilities (you can make movies on digicam, so TV ought to be easy) they could be providing useful inserts for a magazine style show. A few years ago there was a DVD based version too with the ever prolific Mark Found. The content was excellent even if the presentation was a bit, erm, over-enthusiastic at times. It foundered because people wouldn’t by the DVD in sufficient quantities but the idea was there.
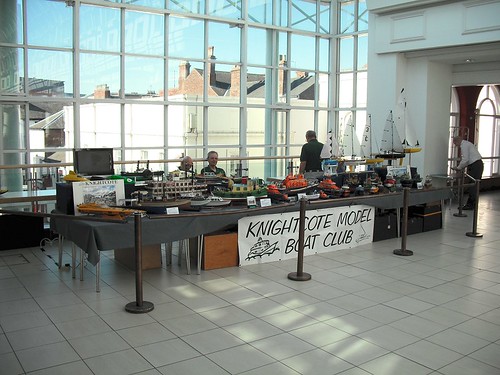
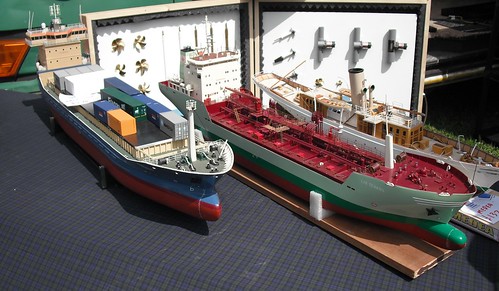
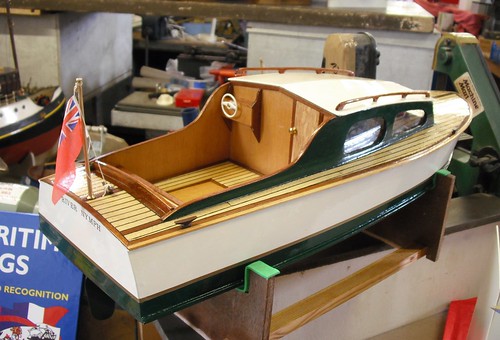
This wouldn’t be limited to toy trains either. What about boat modellers ? Or aeromodellers ? Or pretty much any creative hobby ?
My vision is a magazine style programme that covers both real and model subjects. Something like the BBC’s Countryfile, it will be an hour long and made up of segments with linking presenters. The format is proven for a more general audience than an initial look at the topic might suggest. After all, how many of us are involved in farming ? Despite this, we still spend a chunk of Sunday night looking at it.
There would have to be some standards. Firstly, the shows should be aimed at a general audience. Not dumbed down, but if your interest is in the variety of sandbox shapes employed by Class 31 diesels then you’ll be disappointed. To get the mix right, people who are involved in the hobby will need to be working behind the scenes. Let your average programme maker near it and they will just take the mickey out of the subject. And then I will fire them. The best TV comes from presenters and producers who have respect for the subject anyway. This is not telly for children or idiots.
Second, no “character” presenters. If you want ordinary people to watch, you need to put someone on screen that they don’t laugh at. By all means vary the mix but not every enthusiast is Fred Dibnah and very few can communicate as well as a professional. Not too much Pete Waterman either – he’s everywhere on these sort of things. Besides, there are plenty of people who want to get on the screen so we can pretty much take our pick and get good presenters.
Third, no “character” interviewees. All hobbies have crackpots and that’s what the public associate with them. If a programme is to be successful we need to get interesting people with a story to tell. The show won’t require that many finished models per year, unlike the magazines, so those that make it to screen will be the best and most inspirational. Plus the ones I’ve built but then if I’m running the BBC that’s the way it works.
None of this needs to be expensive either. We can probably get to daytime telly cheap yet the results will be usable across the schedule and thanks to the web we can pick up viewers at any time of day. Of course as soon as this all takes off, ITV will copy it hosted by Ant & Dec. Sky will launch “Sky Shed” and Dave will run the repeats. Best of all, the extra publicity will generate extra interest in hobbies. This will make everyone happier, help our cottage industries thus improving the economy and give youth something to do instead of whining that they are bored.
You’re probably thinking at this point that I am mad. None of this will ever happen. Yet in some small way it already has. Anyone remember the Top Gear race between Tornado, a Jaguar and some moped to Edinburgh ? The filing of the train was some of the best I’ve ever seen and the appreciation of the engineering by the idiot Clarkeson was genuine. No sniggering, this was something to be proud of. There’s also some antique programme on where one of the experts spent some time spraying a standard lamp electric pink, you can make stuff on grown-up telly. Mind you she was working outside with a dust mask (useless against paint spray) held over her mouth which shows the need to people who know what they are talking about to be involved.
Other than a complete absence of imagination and talent among the people who fill the goggle box, there is no reason why we should do this. That’s why I need to be running the Beeb. It’s the last hope for the country. Write to your MP and demand action now !
 This isn't a proper serious post. In fact, feel free to go out and do some bank holiday stuff if you want, the sun is shining and you have the day off after all.
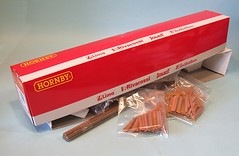
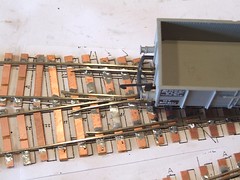
 Of course, now I have the thing I've got to work out what to do with it. I do have quite a Triang collection but that's mostly made up for operating accessories (9 Giraffe cars and counting !) so it doesn't really fit in. Perhaps I could get some contemporary wagons and make yet another micro layout up for it. Maybe use appropriate aged buildings.


 With all the election stuff going on, and endless pointless news coverage, I feel it’s time to leap on the bandwagon.