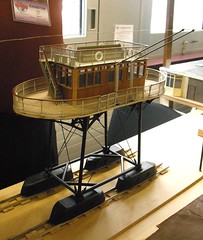
It's a looong way from Leamington to Brighton, Even further when it's hammering down with rain. But we were determined to go and see the
Daddy Long-Legs.
Brighton ModelWorld is a very unusual exhibition in the UK. Travel to the continent and visit something like Modelspoor or any other large show and you'll see a similar show though. It's not just trains. Or boat. Or aeroplanes. Or Meccano. Or plastic kits. Or dolls houses. Or radio control cars. Or sci-fi. Or Lego. Or model engineering. You get all of them.
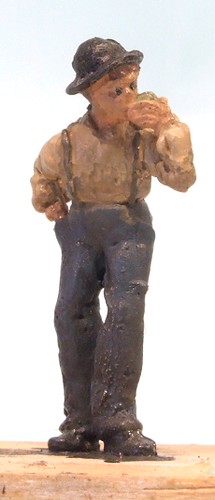
For me this is fantastic. I saw boat exhibits and traders. I like to see some model engineering and a few plastic kits too. I especially like full size Daleks and even though I pretend not too, can raise some interest in a big of Lego. Just don't tell anyone.
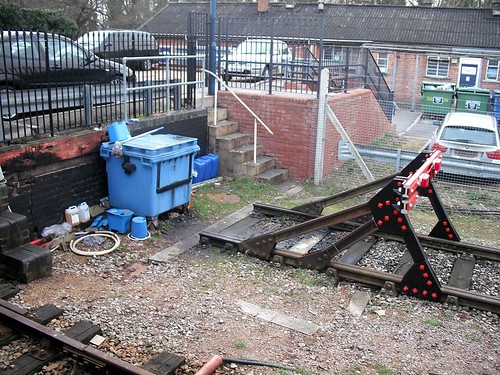
Even half an hour after the show opened there was a healthy queue to get in. This wasn't helped by the design of the centre which has a revolving door on the entrance. Just what you need to a high traffic area ! Inside it's no better as the show is a real maze to explore. There are decent sized halls but finding them is challenging. It is worth it though.
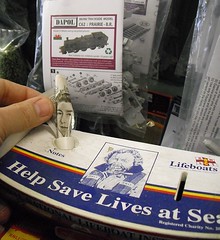
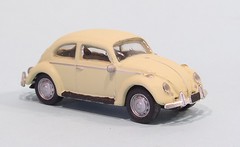
The first goodies we found were the model boat exhibits, or at least some of them. Well strictly speaking I had bought 3 diecast VW vans by this point but the first big stop and chat was on a boat club stand where at the back was a model of the Waverley next to the
Brede lifeboat. My Dad has a 6ft Waverley to refurbish and I have a Brede which has just been joined by a second one. Lots of photos were taken and we discovered just how much the paddle steamer had altered over the years. He wants to produce a 1970's boat which means the lifeboats will be different from the one on display.
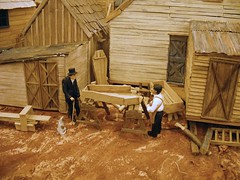
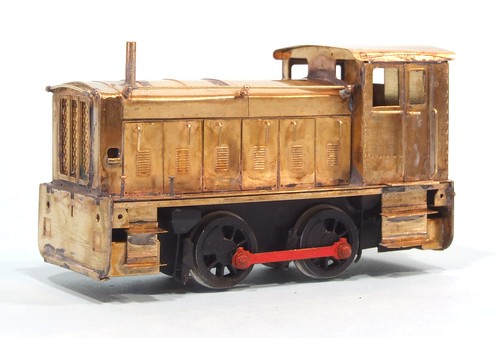
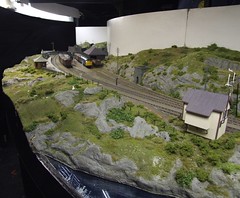
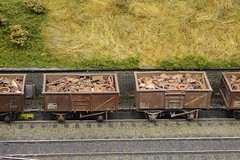
There were some cracking model boats on display but we moved on the the railways. The main feature was an incredible G gauge American mining town. I think it was around 40 feet long and unlike most garden scale exhibition railways, a nice model with well done cameo scenes. The public loved it even though operation was basically several trains following each other around a continuous run.
Next door was a 7mm scale tramway layout by members of the Tramway & Light Railway Society. Tram layouts have always tended to lag behind their railway counterparts in display terms but this one certainly doesn't. The street scene was beautifully modelled and aside from an oddball half wagon against the backscene, free of gimmicky scenes.
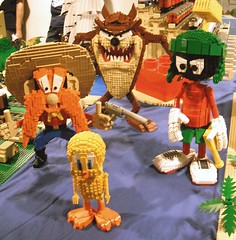
One surprise was the amount of Lego courtesy of
The Brickish Association. On one had there was a enormous aircraft carrier, on the other a very nice mosaic showing the Brighton Pavilion being built as we watched by a couple of very well organised members working out of tubs of colour plastic bricks. Fair play to these guys as they really are taking a children's toy and showing what a grown up can do with it. I mean, I might play with toy trains and boats, but at least I can claim the parts, and cost, are better than the kids are getting. They have the same raw materials but create some fascinating models. I loved the SRN4 hovercraft and Hanna-Barbera cartoon characters.

If robots were your thing then there were many varieties of Dalek including one of the stupid new Fisher-Price variants. Happily though, most were proper old-school versions. Obviously they were all housed on the ground floor... The R2D2 was nice too but rather shoved in a corner where it was difficult to get a photo.
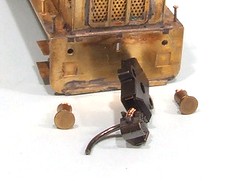
Trade was like the display, mixed. You could have model engineering supplies on one hand, model boats and fittings (like some for a 1:12 Brede) elsewhere and lot of railways. I loved the juxtaposition of Freestone Model Accessories card buildings with Macs Mouldings resin boat parts.
As I said, if you like lots of different types of model then this is a really good day out. I do, so it was.
See more photos on Flickr

 Seeing and Airfix kit for the same prototype I wondered if it would be any better. And sometimes I want to do no more than stick a plastic kit together which is why it joined the pile.
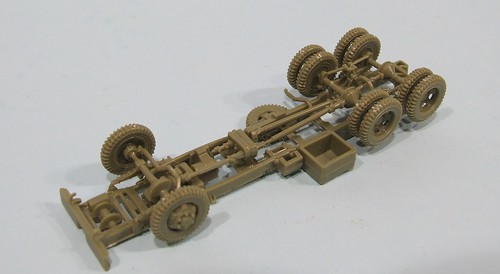


