At the Wyre Forest show, we had a guest operator for the Sunday. It seemed a shame to let him get away with just playing trains when I could get him to put finger to keyboard, so todays blog post is by Mike Harper:
Having returned to modelling after a 40 year break and joining the
LWMRS I wanted to experience being behind a layout during a show.
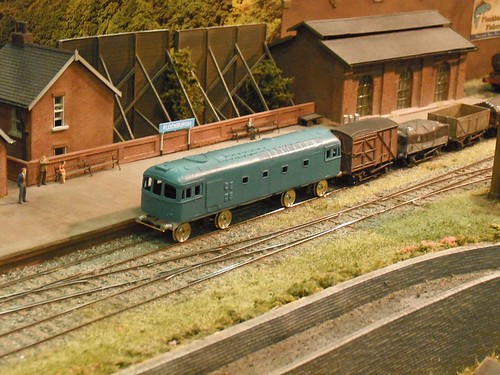
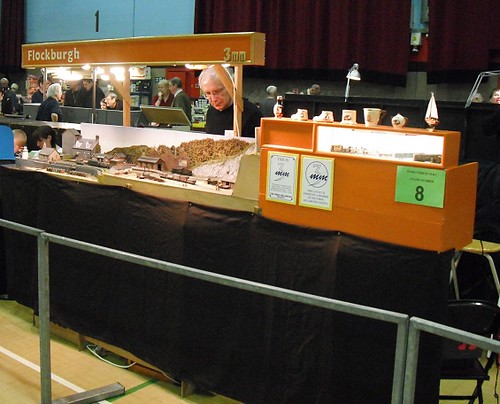
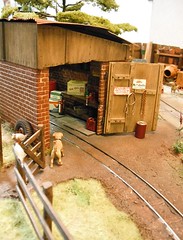
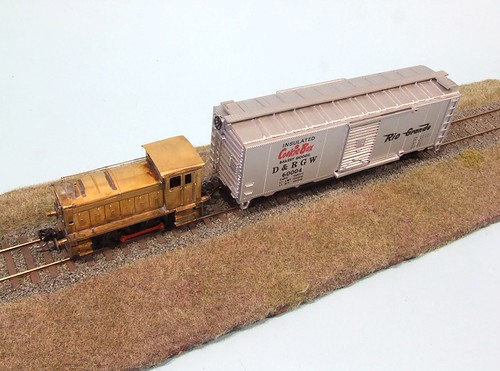
Phil & Brian Parker were good enough to invite me to the Worcester Model Railway Exhibition in March, and to help operate their Flockburgh layout in 3mm. I won’t describe the layout as you can
view it on Phil’s website, but suffice to say I found the whole experience very therapeutic. Apart from a minor hiccup of a point needing re-soldering the layout operated like a dream, and whilst the operational possibilities seem at first glance to be limited they are surprisingly satisfying.
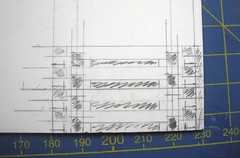
I intend to build my own exhibition layout in due course and whilst I have some firm ideas on gauge, location and era, it is the practical matters that I need to explore and take advice on.
Will the layout fit in my car, does it need too ? How is it to be erected and dismantled ? How will the lighting rig work ?, an issue, in my limited observation over the last twelve months, far too many otherwise brilliant layouts fail to address.
How high does the layout need to be to give visitors the best possible view, and how high, and of what quality does the back scene need to be ? Another area that many layouts seem to take scant regard of.
I also wanted to see the practicalities of running a layout as a visiting exhibitor having only experienced the LWMRS show as a steward
I could only attend on the Sunday of this two day show so missed the setting up, but when I arrived at the venue some 30 minutes before opening Phil & Brian had already set the layout up for running and cleaned the track. I was pleasantly surprised how quickly I grasped the control system and fiddle yard set up, and most importantly where to get the teas!
I also learnt that having had an excellent lunch that I should not expect that sort of service at all venues, for when I mentioned this to the exhibitor, tucking in next to me, he told me in no uncertain terms that several exhibitions that failed in that category, but not here or the LWMRS ! “So sometimes just sandwiches then ?” I suggested, he raised his eyebrows and informed me that “sometimes sandwiches would be a distinct improvement !”
Back on the layout I was concerned that visitors would ask me too many questions that I would fail to answer, but as 90% were about the Spratt & Winkle magnetic uncouplers, I soon learned the explanation, and directed them off to
Wizard models to learn more.
Dismantling and leaving the show was ‘interesting’, as some quite large layouts leave quickly with what seemed like military precision, whilst others, I observed, as we were leaving some 25 minutes after closing and operating right up to the final minute, were only just starting to pack away.
This first experience has certainly wetted my appetite further to build my own exhibition layout, and given me a number of ideas to incorporate, and likewise I’ve had a few ideas that I’ve now decided to reconsider or abandon all together!!
My thanks to Brian & Phil, for an excellent day out.
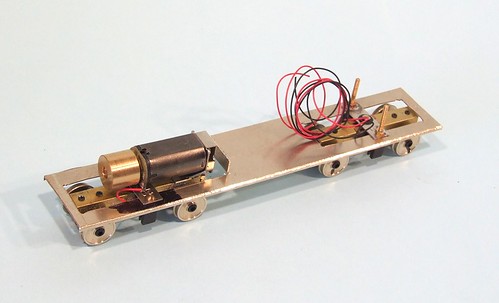
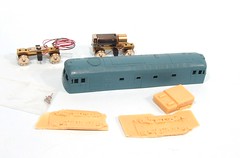
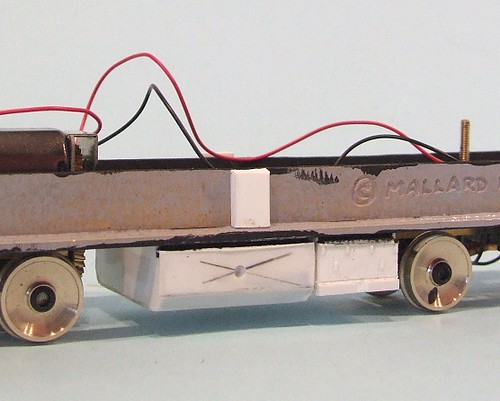
 I know the biggest challenge building the class 26 will be the bogie sideframes. I have wondered about buying something in but in the end stuck to my guns and will have a go at making them myself in plasticard.
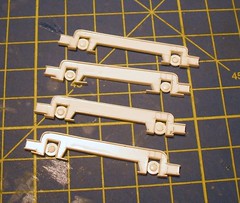 Next, some of the corners are curved, probably not enough for the purist but then they probably model by whining on forums rather than chopping up plastic so they can shut up. The sideframes are edged with strips of very thin plastic cut by myself as I didn't have any suitable microstrip and couldn't be bothered to go and get some. In the photo I still have to trim the bottom bits back but you get the idea.


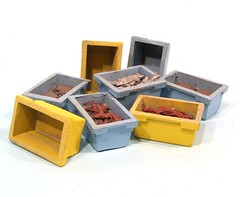 On the bench is a modern fishing boat which needs some details. Boxes of fish would seem an obvious addition but painting these resin castings has forced me to think - never a good thing.