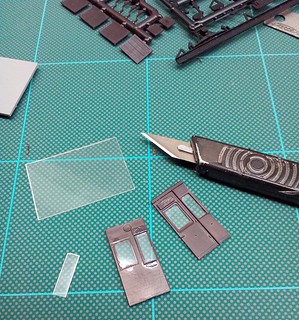
 First job according to the instructions, with the Beetle van kit, is fitting the glazing. Plastic sheet is provided along with measurements for cutting.
After truing up the edge I roughly measured these and cut out my rectangles. These were then dry-fitted in to the window rebates. I'm glad I did this as there was then several rounds of trimming a bit off and trying again until a perfect fir was reached. The rebates around the window are less than 0.5mm wide.
Fortunately, there is plenty of spare glazing, I threw away a couple of attempts until I was happy with the results.
Once OK, the plastic was prodded in place and fixed with a tiny, tiny drop of solvent. How I will paint the frames is a mystery at the moment and I wonder if I'll regret not using Krystal Klear later on as I normally do.
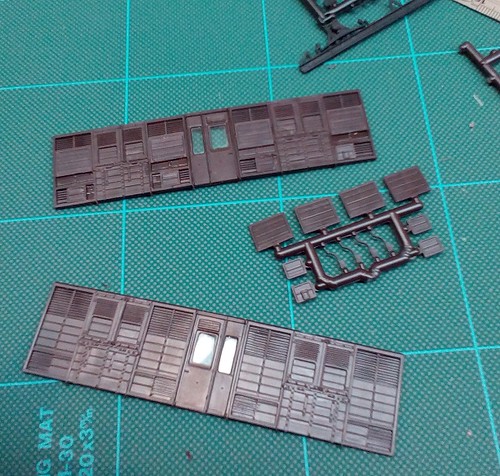 After this, the doors are checked for fit in the sides. These aren't symmetrical which is why they aren't integral with the side moldings - you'd need 2 tools for that instead of 1.
The doors took more trimming than expected for a good fit but time taken here is worthwhile as if you wedge them in, the sides bow outwards.
Next, shutters are fitted. No problem here except with the bottom right one which has a label holder that should be at the bottom of the shutter.
I've set them all mostly open as it looks (to my eye) more interesting that way. I'm sure you'll bear in mind the temperature you model is set at when positioning them on your model.
No comments:
Post a Comment