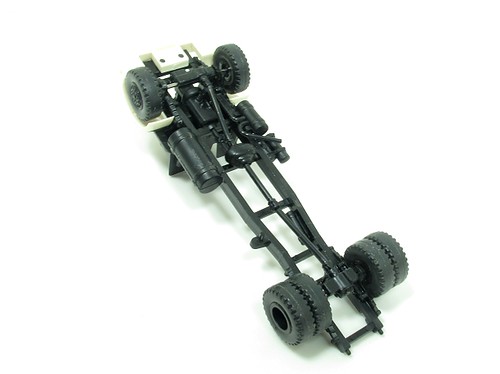
Starting with the chassis, there's nothing particularly exciting to report. The main part is a single piece with the exhaust, fuel tank, springs and drive shafts (also a single moulding - neat) stuck on with liquid plastic glue.
Tyres are rubber slid over the plastic hubs. After you've done one, it makes sense to put the tyres on with the moulding pips inside. Fortunately, while they are a tight fit, a little persuasion removes them so they can go back on properly...
Axles are metal and according to the instructions, fitted with a hammer!
Gentle taps do force the metal in to the plastic. Then it's threaded through the springs and the other wheel pushed on. I used a vice as a press to help with this as you don't want to be whacking the outside hubs with the hammer.
Another nice touch is that there is vertical slop where the axle passes through the springs so all the wheels can sit on the ground even if it's not perfectly flat.
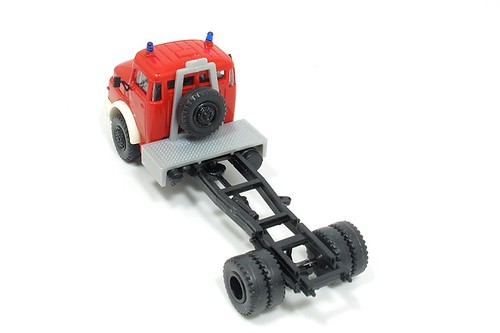
The cab interior is a single part that fits on to the chassis front but is very tight. You must push this all the way home or the red cab body won't sit down properly on the front wheel arches.
Lights and wing mirrors fit with plastic glue and bot are excellent fits. Finally, the spare wheel mounts on the section behind the cab. This is a different colour to the model on the box cover, something that I spotted happens for several parts. Presumably the cover shots are of a prototype model.
Oh, in case you wonder, the wheels do revolve so the finished model can be "brooooomed" along the carpet.
No comments:
Post a Comment