Once you have rolled your boiler, you get to attach it to the rest of the locomotive. At this point if you are following the story I’m going to disappoint you a bit. I managed to get a big chunk of last weekend in on this kit – well most of the Saturday anyway. This means that the model is pretty much complete and so you won’t get a stream of postings explaining each step. Sorry.
The only interesting moment was when I discovered that the smokebox door wouldn’t fit. The only chance I had was to use something from a 4mm scale range and that would just look stupid. The boiler was too low.
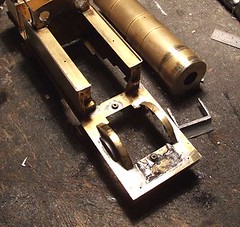
The solution was pretty horrific and I didn’t embark on it lightly. Using a small gas powered torch I melted the solder in at each attachment point and jabbed a scalpel into the molten liquid. This allows it to cool without re-attaching the part. By using lots of heat and being luckier than I deserve, a major part of this model locomotive was separated from the rest. Even where the front was attached to a whitemetal saddle, separation was achieved without melting anything important. The trick, if there is one, is to use a lot of heat so the solder melts before anything else has the chance to heat up.
A little cleaning and a lot of measuring – something I should have done in the first place – and the boiler is back in place. The smokebox door is fitted and all is OK. Phew.

No comments:
Post a Comment