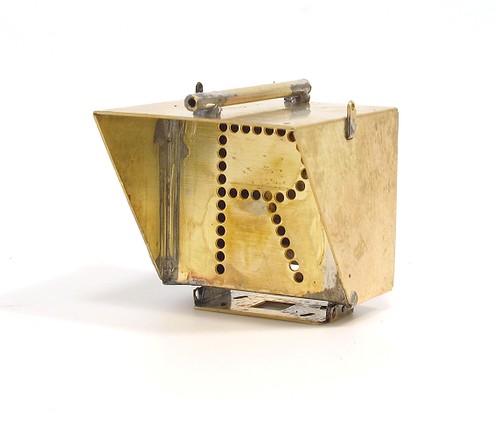
 Delving in to the world if signalling again, this time with a Route Indicator box. A large letter ligths up to let the driver know which way they will be going - since train drivers have to be passed to drive a particular route this matters.
(Note: sit in the cab of a train and you don't get to take it out without having learned the route you'll be driving. Sit in the front of a lorry and you can let the satnav do the thinking. Which is why trains cost more but are safer and IMHO, better)
Construction is pretty simple, the big letter (chose 1 from 3) folds up and fit inside the shroud. First though, laminate the Dorman Dorman cover plate up and fix this in place. Again, the idea is that the keen modeller fits a light inside the unit.
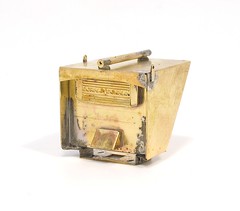 Apart from messing up the folds on the bracket under the shroud resulting in a bit falling off and having to be soldered back in place, construction is OK. Yet again the RSU was invaluable for fixing the fiddly bits in place with the minimum of solder (paste) and I used tube slightly too large for the sighting tube (should be 1mm, I used 1.3mm) hopefully once I've cleaned and polished, this will look nice.
 Talking of the sighting tube, would anyone like to explain it? I'm assuming it's used when installing the unit to make sure it points at the driver but I'd have though you don't need an aid to do this as it can't be that crucial can it?
No comments:
Post a Comment