 I've commented before that it seems odd one of the first tasks to be carried out when building a model boat is to make holes in the hull. In other words take the very part you rely on to keep water out, and sabotage its ability to do this.
 Still, no holes, no drive or steering so I measured up the Bantam hull for drilling.
There's not instructions in the kit and even if there were, I'd probably have ignored them. All I did was measure the centre line of the motor, as a couple of mm and then mark this on the vertical flat bit where the drive shaft exits the hull.
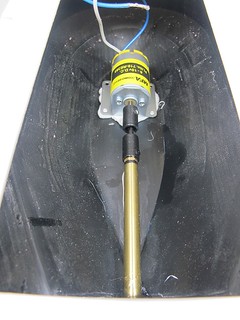
Into this is stuffed a propshaft, supported by a rectangle of plasticard (not visible in the photo as it's under the brass shaft) to top it flapping around.
The motor is connected with a short coupling of a type I've never used before. Other have so I don't have any worries on this score.
A 380 type motor mount is sat on a great big dollop of silicone sealant and tweaked so everything is in reasonable alignment. This won't be a fast boat but a bit of care now will save power and vibration later. The sealant will isolate the motor wobbles from the hull and also saves me trying to work out how to screw the mount down into plastic about 1mm thick.
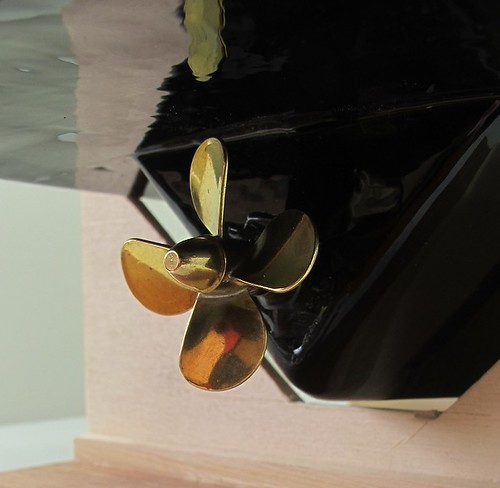
At the business end there is a brass propeller. So far, this is the most expensive part of the model coming in at around 13 quid. I reckon it's worth it though. As well as working better than a plastic version, it looks lovely under there.
No comments:
Post a Comment