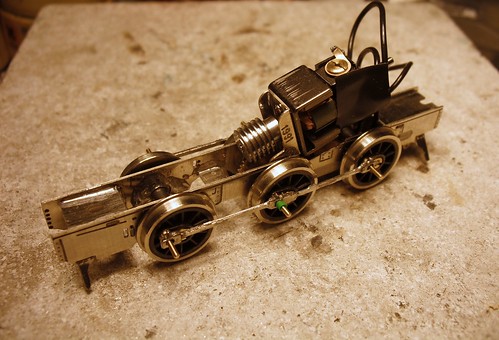
The chassis works, the gearbox works. Time to bring them together.
First, any bearing inside the chassis frames has to be filed away so the 'box will slip in to place. Then there was a bit of fiddling around to get all the holes (2 frames, 2 gearbox bearings and the final drive gear) lined up so the axle would go through.
A quick test and the wheels rotated nice and smoothly. I always carry this out using an H&M controller as the lack of sophistication shows up tight spots with a feedback controller might overcome.
Then the rods go back on. You can see the horrors in the crank pin areas - those holes should be round not oblong - but it still worked. Pedants will also spot the rods are back to front. They work better this way despite the original jig being set up with them the correct way around (I checked, I really did. Several times). It doesn't matter, the thing runs acceptably well.
Finally I've fitted pickups to the rear 4 wheels. This is a live chassis model, that's why one of the motor terminal is covered with insulating tape, so only one set is required and these are 28swg phosphor bronze wire attached to veroboard bolted to a frame spacer. I'd like to say that I only did 4 as this will highlight electrical "issues" better than if all 6 wheels were grabbing electricity, but the truth was I couldn't be bothered to do the front pair. I'll sort this out later. For the moment the chassis is good enough for track testing.
And testing it did. Back and forth over the longer point crossover without any problems. No lumps or bumps or stalling. I wish the Isle of Man had bought more of these things rather than the more complex to build 2-4-0's !
No comments:
Post a Comment