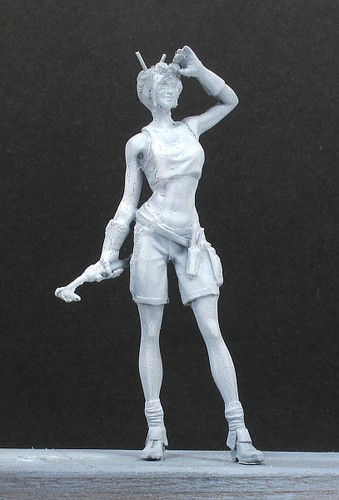
 With two sets of parts to work with, I decided to have a go at assembling the grey, flash encased example first. I'm working on the basis that if it goes wrong, I've not really wasted anything.
 Cleaning up the parts proved reasonably easy.
First, the mould lines were scrapped with a scalpel blade. The trick here is to keep the blade perpendicular to the part and don't try to cut into the mould line.
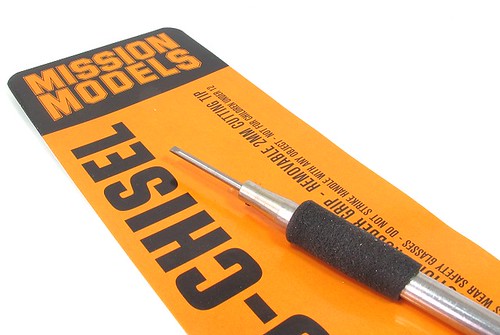
The arms fit into sockets in the shoulders and in here I used a new tool to me - a Mission Model chisel.
I've often felt the need for a chisel when modelling. Carving away rivets, mould lines or just lumps in plastic is difficult with a normal knife blade sometimes. To date, I've tried Xacto chisel blades but they are sometimes too wide. If I owned a grinder, it might be possible to fix this but I'm not convinced. Probably easier to sharpen a cheap screwdriver.
Anyway, the chisel has a 2mm wide bit - spares in narrower sizes are available. Cost is a slightly worrying £15, from the excellent little-cars.com but then good tools aren't cheap and I hope this lasts me a long while. When the sharp end gets blunt, it will be on the diamond sharpening stone...
Results were very good. Part fit is excellent with join lines concealed in the arm holes of the figures top. A quick (and less good than I thought but it will be OK) spray of Modelmates white primer gives me a basis to work on.
2 comments:
She has what my dad would have called "lucky" legs.....lucky they don't snap off and ram her her up the bum!
Phil there is another supplier of Chisel blades mounted in a round scaple type holder Ill try and find mine to give you the details.
I find it very useful for chopping out corners of Windows in Plywood or Cardboard.
Richard Preece
Post a Comment